


 Add:No. 16 Xingye Road, Beijiao Town Industrial Park, Shunde District, Foshan City, Guangdong Province
 PHONE: +86 13509957538
 TEL: +86 0757-26131933
 Email: huayin_glass@163.com

Chinese


A European beverage brand was rolling out branded beer coolers across bars, convenience chains and festival venues, and the glass door was the brand's single largest visual surface. Every door carried the logo, lit from inside, viewed through cold condensation and under bar lighting. The brand's procurement team needed a partner who could produce branded beer cooler glass doors with consistent print quality at a rate of several hundred doors per month. This case study walks through the five stages of that OEM project.
The specification sounded simple: an aluminum-framed double-glazed door, a two-color screen-printed logo, perimeter LED illumination, magnetic gasket, self-closing hinge. Simple on paper — but print registration across curved glass, color consistency under LED light, and gasket fit at volume are exactly where such projects stall. The team structured the project in five deliberate stages to avoid those stalls.
The brand submitted its logo in vector format along with the cabinet's door opening dimensions and a render. The engineering team converted this into a producible drawing: logo position relative to the viewing area, print colors matched to the brand's Pantone references, and the LED light channel geometry that would backlight the print.
Two design decisions were made here. First, the logo was printed on the outer pane's inner surface — protecting the ink from bar-side wiping and cleaning chemicals. Second, the print was specified with an opaque white underlay beneath the brand colors, so the logo would stay saturated when lit rather than washing out against the cabinet's interior.
Samples are usually judged on a desk. This project judged them in a bar. The first article door was installed in a working venue with the actual LED channel, the actual cooler, and the actual ambient lighting, then reviewed by both the brand's design team and the refrigeration engineer.
The review caught one issue no spec sheet would have: the logo's warm red shifted noticeably under 4000K LED compared to the brand's original warm-white reference. The ink formulation was adjusted and a second sample confirmed the match. Reviewing samples under the real light source took one extra week and prevented a brand-color dispute across 1,200 doors.
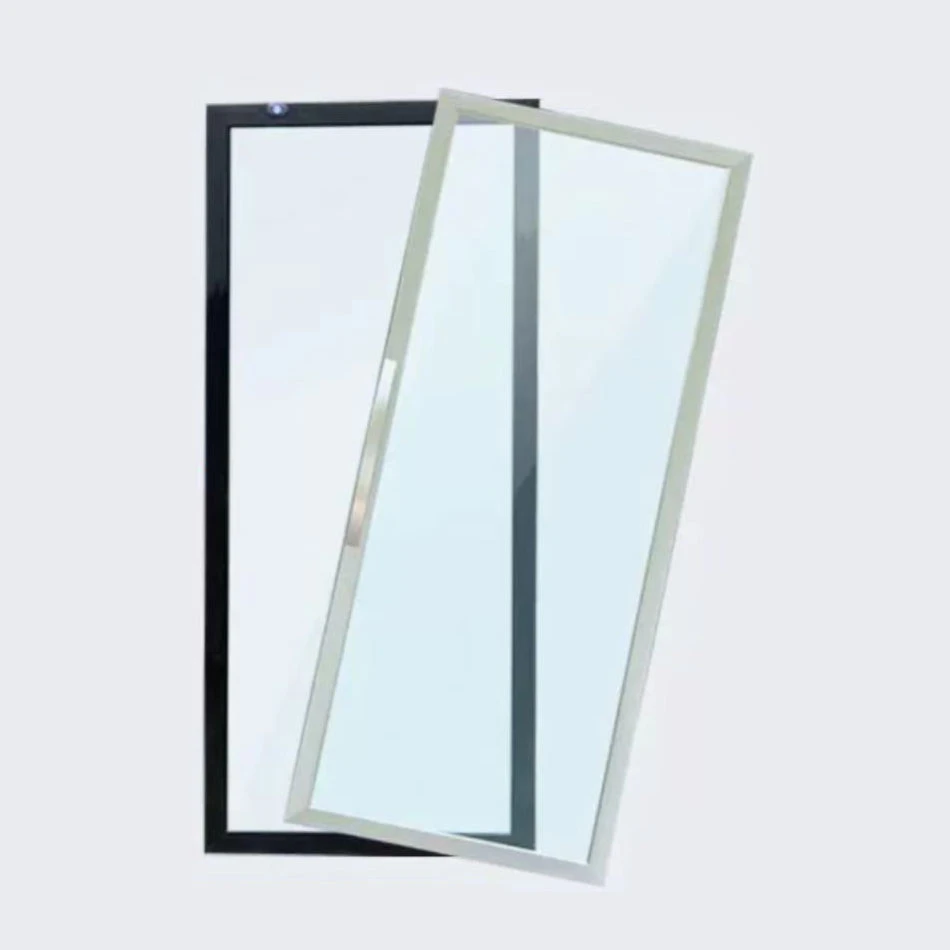
With the sample approved, the agreed configuration was written into a single specification table — the document both sides would audit deliveries against.
| Item | Agreed specification |
|---|---|
| Glazing | Double-glazed insulated unit, tempered panes, argon fill |
| Printing | Two-color screen print with white underlay, on inner surface of outer pane |
| Frame | Anodized aluminum profile, E-coating, brand-neutral finish |
| Hardware | Self-closing hinges, magnetic gasket, integrated handle |
| Lighting interface | Perimeter LED channel, customer-supplied strip, factory-fitted |
| Color tolerance | ΔE ≤ 1.5 against approved sample (D65) |
One structural choice mattered more than the rest: the anodized aluminum glass door format let the factory supply the complete door assembly — glass, frame, gasket and hinge — pre-fitted, so the cabinet maker received a drop-in unit instead of parts to assemble.
Volume production ran at monthly batches over eight months. Two in-process checks carried the print quality through the ramp: first-article inspection at the start of every batch, and print registration checks after each screen re-setup. Ink batch numbers were logged so any color drift could be traced to a specific production window.
Tempered, printed panes that passed inspection moved to the insulated glass line, where assembly, gasket fitting and hinge mounting happened in one flow. Doors that failed any check were scrapped at pane level — never reworked — which the brand preferred over marginally acceptable units reaching venues.
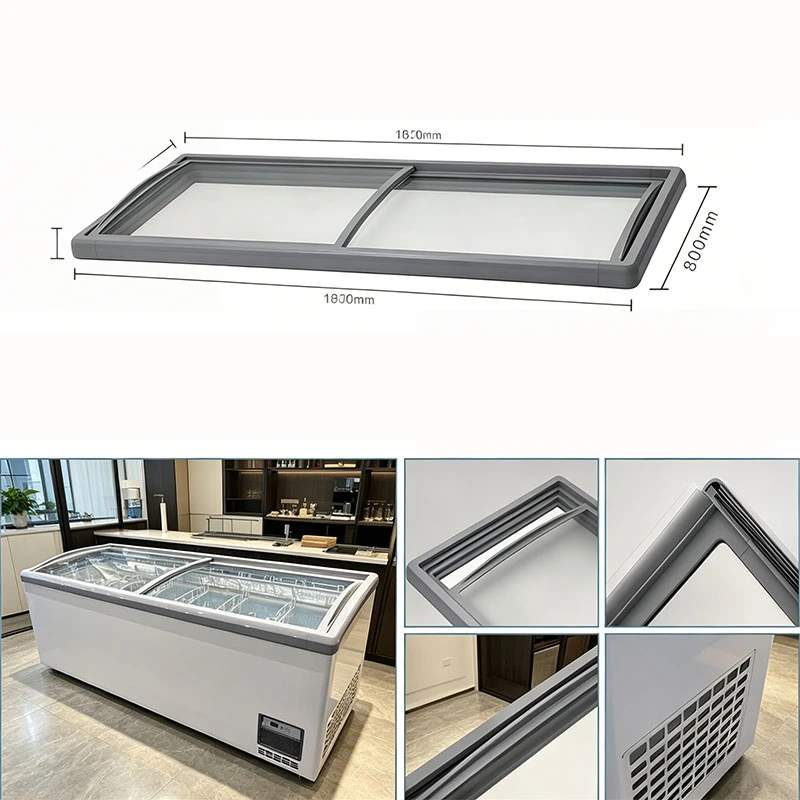
Doors shipped in batches matched to the brand's venue rollout calendar, each batch packed with corner protection and shock indicators. The brand ordered a spares ratio of 2% alongside the production volume, stored at the regional distribution center, so a damaged door in a venue was replaced within days rather than triggering a new production run.
Over the rollout the reported damage-in-transit rate stayed low enough that the spares pool covered replacements without emergency orders — the direct payoff of the packaging standard agreed back in Stage 3.
| Outcome | Direction after rollout |
|---|---|
| Print color consistency across batches | Held within ΔE ≤ 1.5; no brand-side color rejections |
| Print durability in venue service | No logo wear reports after first year of wiping and cleaning |
| Door installation at venues | Drop-in fit; no cabinet rework attributable to glass |
| Damage in transit | Covered by the 2% spares pool; no emergency production runs |
| Repeat orders | Program extended to a second cooler cabinet model |
Q: When should a brand get its printer and glazing supplier involved?
A: At the drawing stage, before the cabinet design freezes. The white-underlay decision and the LED channel geometry both shaped the cabinet's light design — raised after tooling, they would have cost a redesign.
Q: Is screen printing durable enough for bar environments?
A: Fired into the glass before tempering, yes — it resists wiping, condensation and cleaning chemicals far better than decals or applied films. The failure mode to control is color consistency at volume, which is a process discipline question, not a technology one.
Huayin Glass Solutions produces branded beer cooler glass doors and rounded-corner screen-print doors with perimeter LED as standard OEM product lines, with printing, tempering and insulated assembly under one roof in Foshan, China. Manufacturing capability is described at our manufacturing overview.
Planning a branded cooler door program? Send your logo files and cabinet dimensions for a free DFM assessment and sample quotation.
Further reading: Client cases · Featured projects · Refrigerator glass door series
Add:No. 16 Xingye Road, Beijiao Town Industrial Park, Shunde District, Foshan City, Guangdong Province
PHONE: +86 13509957538
TEL: +86 0757-26131933
Email: huayin_glass@163.com

© 2026 Huayin Glass Solutions All Rights Reserved.


